 |
USSSA Director Updates
|
On this page, you will find updates and information regarding those updates for USSSA Directors. We will post updates by date when items get added or updated regarding your USSSA Event Management. Please check back here frequently for updates.
February 10, 2016 Event Search & Single Event Landing Page Updates
Directors,
This email is coming out to update you on changes being made to the
web.usssa.com management site and the USSSA.com team site. These changes
center around the concept of Single Events. Traditionally in the past, you
have created each division of a tournament as a stand alone event. They
were grouped for billing purposes, but the divisions were their own independent
units that were administered and displayed as such.
As of Friday, these Divisions will be grouped into Events. You will be able
to manage these Events, as well as the individual Divisions. Teams will
begin to see these as complete Events. This update will detail below how
these changes are implemented, how you manage them, and what they will look like
to the user.
Here are some of the concepts that are covered in the below pages:
- Event Search Module
- Division Grouping into Events
- Single Event Landing Pages
- Social Media Dashboard
- Event Logos
- Full Event Look Who's Coming Lists with multiple Options for display
- New Options for Controlling Entries and Teams Counted
The changes have already been made on the web.usssa.com site. You may
have noticed many of these updates already. Those are live and are ready
for your use. The updates have not been published to USSSA.com in an
effort to give you the director some time to make updates and changes to your
events before this goes live. We have launched a TEST SITE that you can
use to see your events and what they look like on there. Please DO
NOT link ANYTHING to the Beta site. This is only in place for testing and
will be taken down shortly after the updates have been released to USSSA.com.
We have provided some articles that detail the changes that have been made.
Please read through them carefully to see all of the new options you have and
what can be done.
After you have read through these articles, you will need to perform some
functions to be sure that your Events are going to display as you want them.
Here is your checklist of things that need to be accomplished:
- View Events for Grouping
- Go to Event Editor
- Check your tournament list. Look to see that each event has
the correct amount of Divisions (On the Event row, look for Divs-#)
-

- Be sure this number is correct.
- Next, click on the button that says: [ (beta site) Event
Single Landing Page ]. This button will bring up your Single Event
Landing Page.
- Check the Division Table to make sure that all of your Division
in the event are correct.
- If you find divisions that DO NOT belong in this event, you will
need to use the [ Break Event Apart (button will disable after clicked
until complete) ]
- Once you press this button, be patient, this process takes a few
seconds. Once the button becomes active again, the Event
window will refresh and the Event will be split.
- After the tournament has been split, you can re-group the
divisions that needed to be together into one Event.
- If you find divisions that are supposed to be in this Event but are
not, from the Event window, select the current Event and the Event that
need to be combined into one and press [ Combine Events ].
- Continue through all of your events until you get all of them
Grouped properly so that they display on the Single Event Landing Page.
- Update Social Channels, Rainout Information, and Tournament Logo
- You can add Social Media links for your Tournament Company, Park,
Tournament, etc. You can add one Facebook, Twitter, and Instagram
link.
- This has to be the FULL link, not just the @CompanyName
shortcut.
http://www.twitter.com/CompanyName
- You can add a Rainoutline Phone number, Link to a URL, or both.
- Upload and Event Logo for your Event
- This file must be a .JPEG image. File size is restricted
to 250KB.
- Establish Look Who's Coming Preference
- After you have grouped your events, you have to set your Look Who's
Coming Preferences. You have three options (see articles for
descriptions of the options):
- Don't Display Teams to Public
- Display Teams All in One Listing
- Display Teams By Division Entered
- Establish Look Who's Coming Display Options and Entry Count Protocol
- This option gives you the flexibility to determine what you want
displayed on your LWC and how you want it displayed. It also is
how you want Team Entries counted towards your Max Entries.
- There are four options that you can choose from. Please visit
the articles above to read about these Options and select the one that
best matches the protocol you want used for your event.
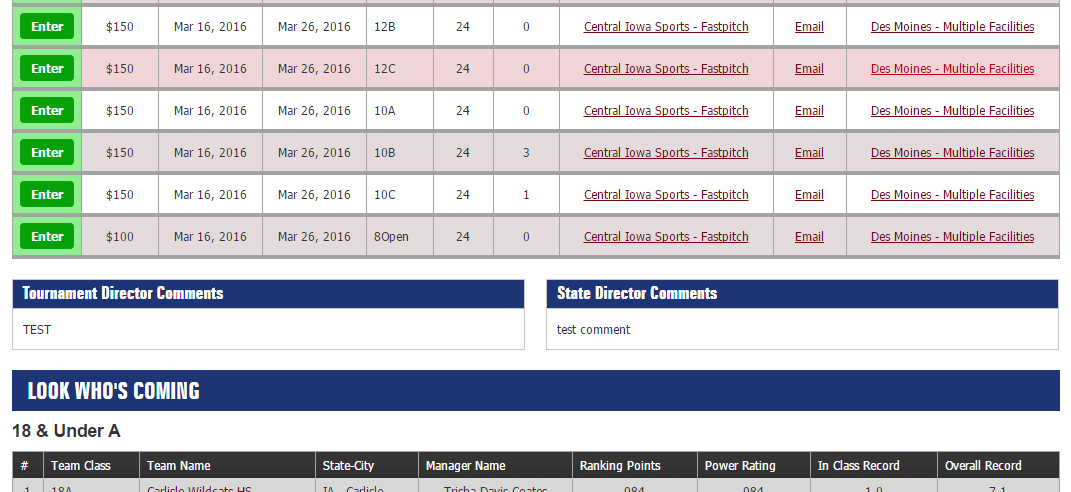
- Update your Comments and State Director Comments
- Look over your test page and get a feel for the layout and determine
how and what you would like posted in the Event Comments section.
- Comments are placed between the Division Table and the Look Who's
Coming List.
-
If you complete all of these processes, your events should be ready for
display.
For questions, please email
tech.committee@usssa.com